1. Setting up your thermal printer for printing from VendHQ
- a)
- b)
- c)
- c)
- d)
- e)
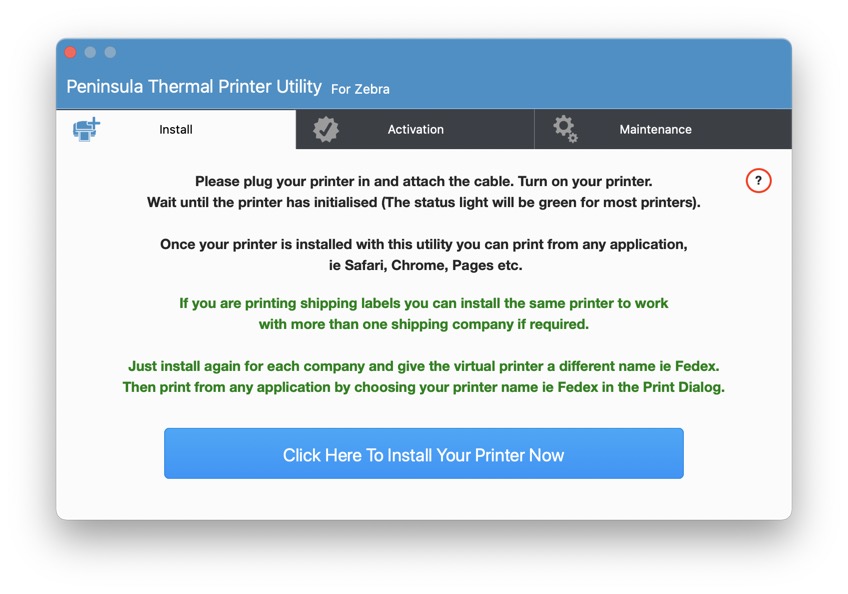
Open the Thermal Utility enter your computer password to allow the drivers to install
and then click "Click Here To Install Your Printer Now".
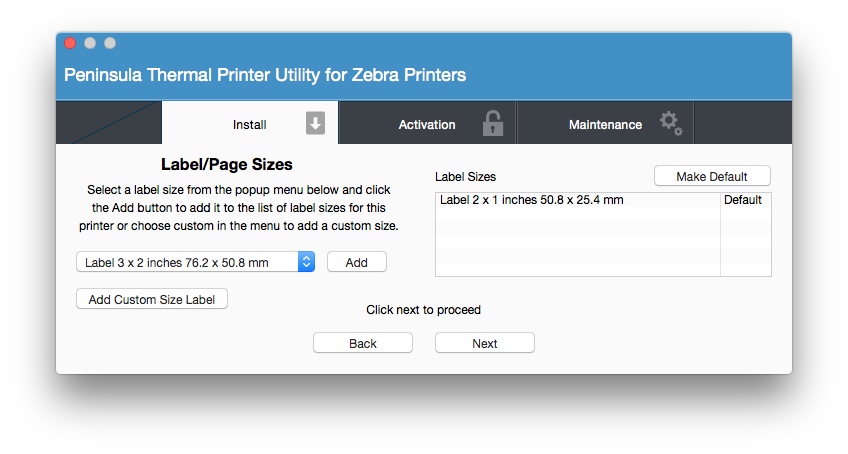
Follow the onscreen steps until you reach the "Label/Page Sizes" step and add
any label sizes you will be printing onto.
Click the "Next" button.
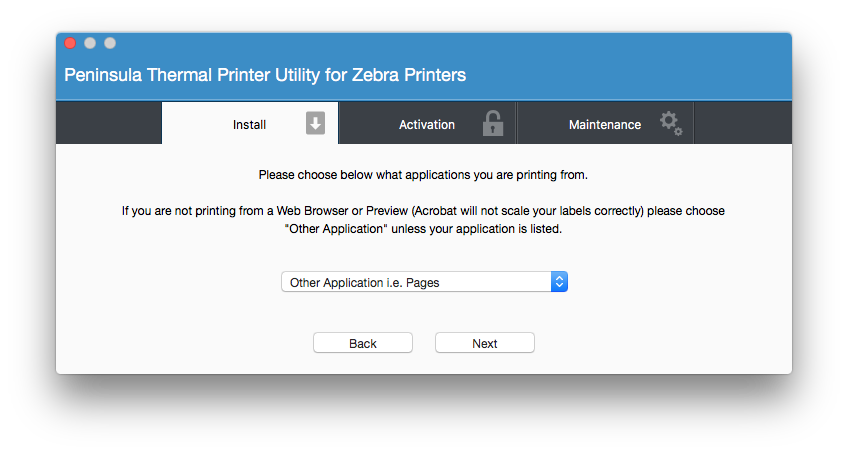
Follow the onscreen steps until you reach the "Choose what applications you are printing from" step and select "Other Application i.e. Pages".
Click the "Next" button.
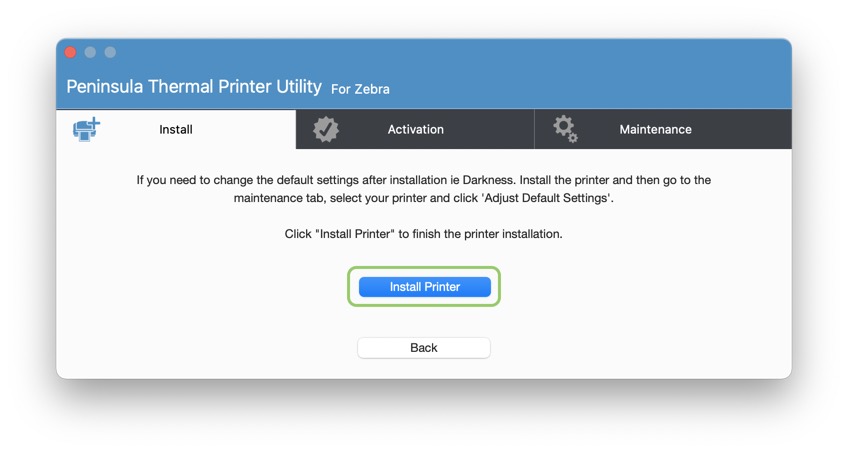
Click the Install Printer button.
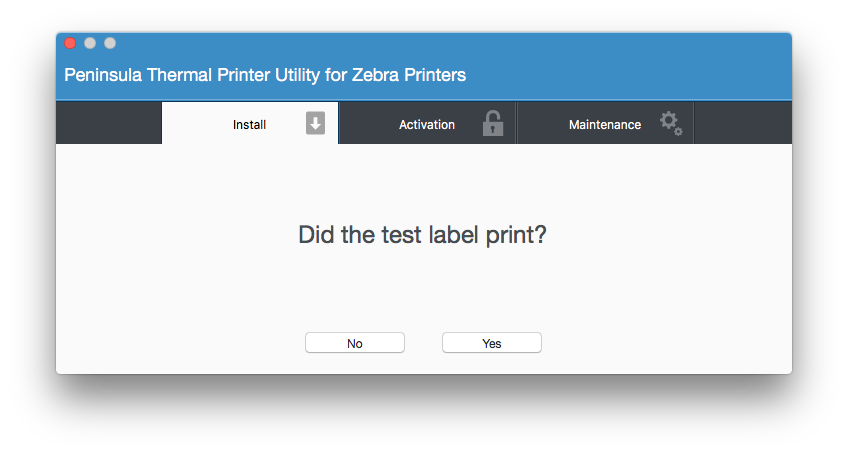
Wait a few moments for the label to print and then select "Yes" or "No" accordingly.
The test label will simply say "Test Label", if in demo mode it will also have a Peninsula Demo overlay.
If the test label did not print please email us as we would be happy to help resolve the issue.
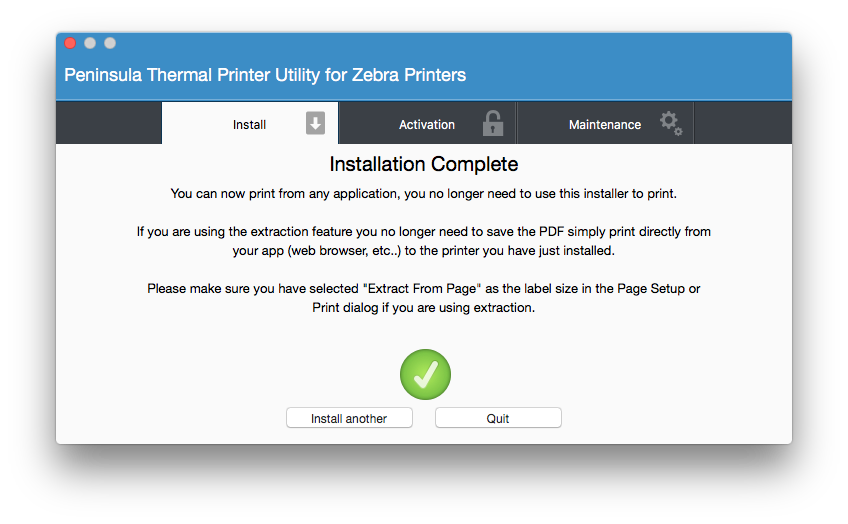
If you selected "Yes" on the previous screen you will now see the installation complete screen
and can now move over to your VendHQ Dashboard.
2. Setting up your VendHQ Dashboard to print to your thermal printer

Please use Chrome to print from VendHQ as other browsers may not produce the same results.
- a)
- b)
- c)
- d)
- e)
- f)
- g)
- h)
- i)
- j)
- k)

From the VendHQ Home screen click products in the sidebar to the left to expand the products section.

In the sidebar from the expanded products section click "Products".
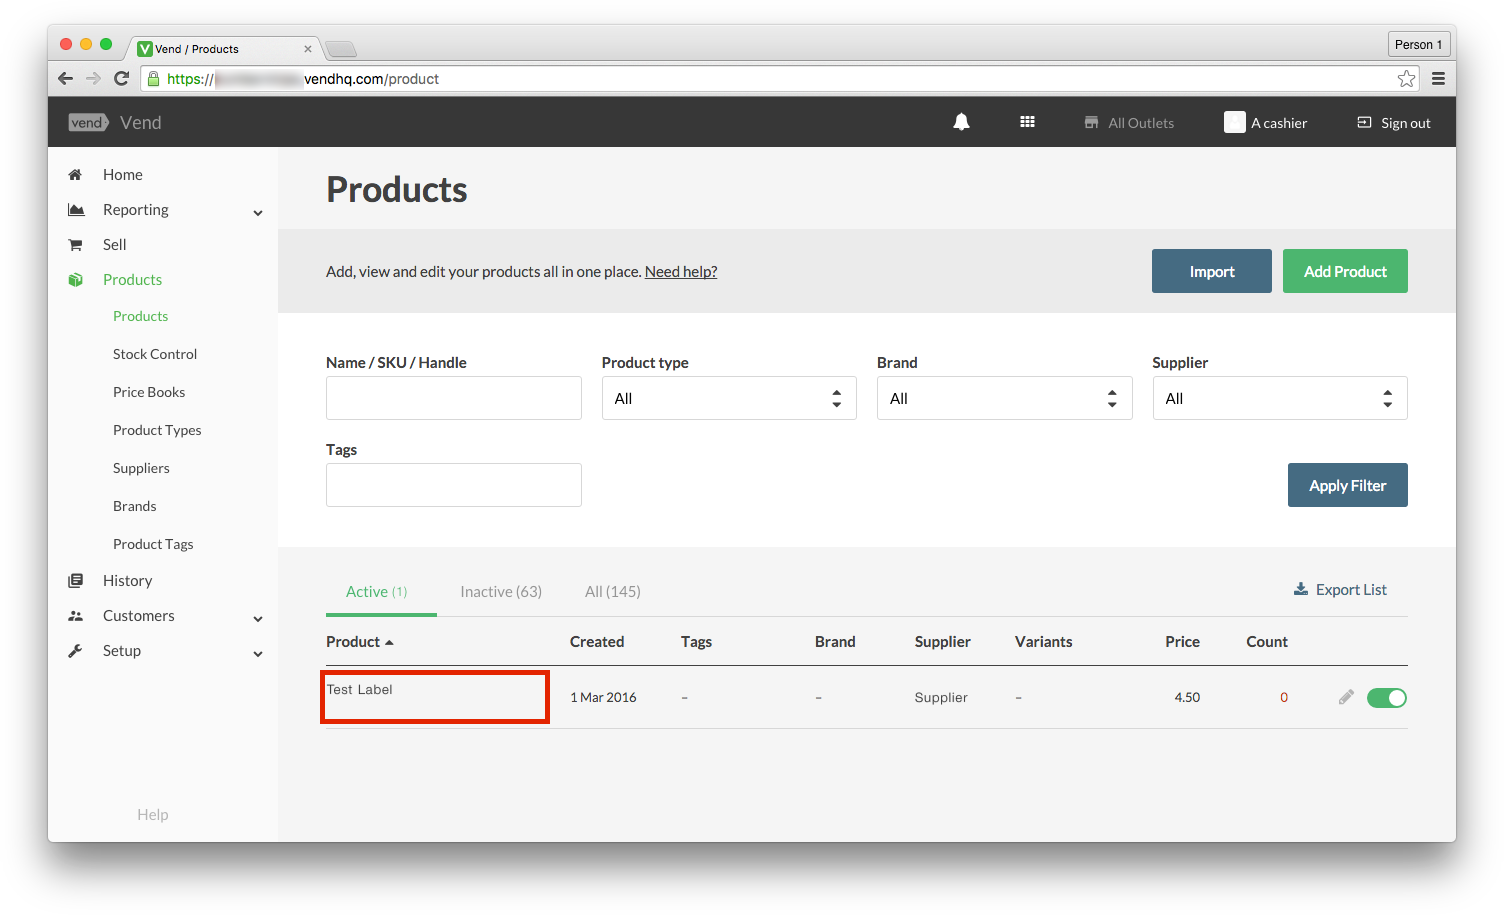
Locate the product which you wish to print labels for and click on it's title to go to the details page.
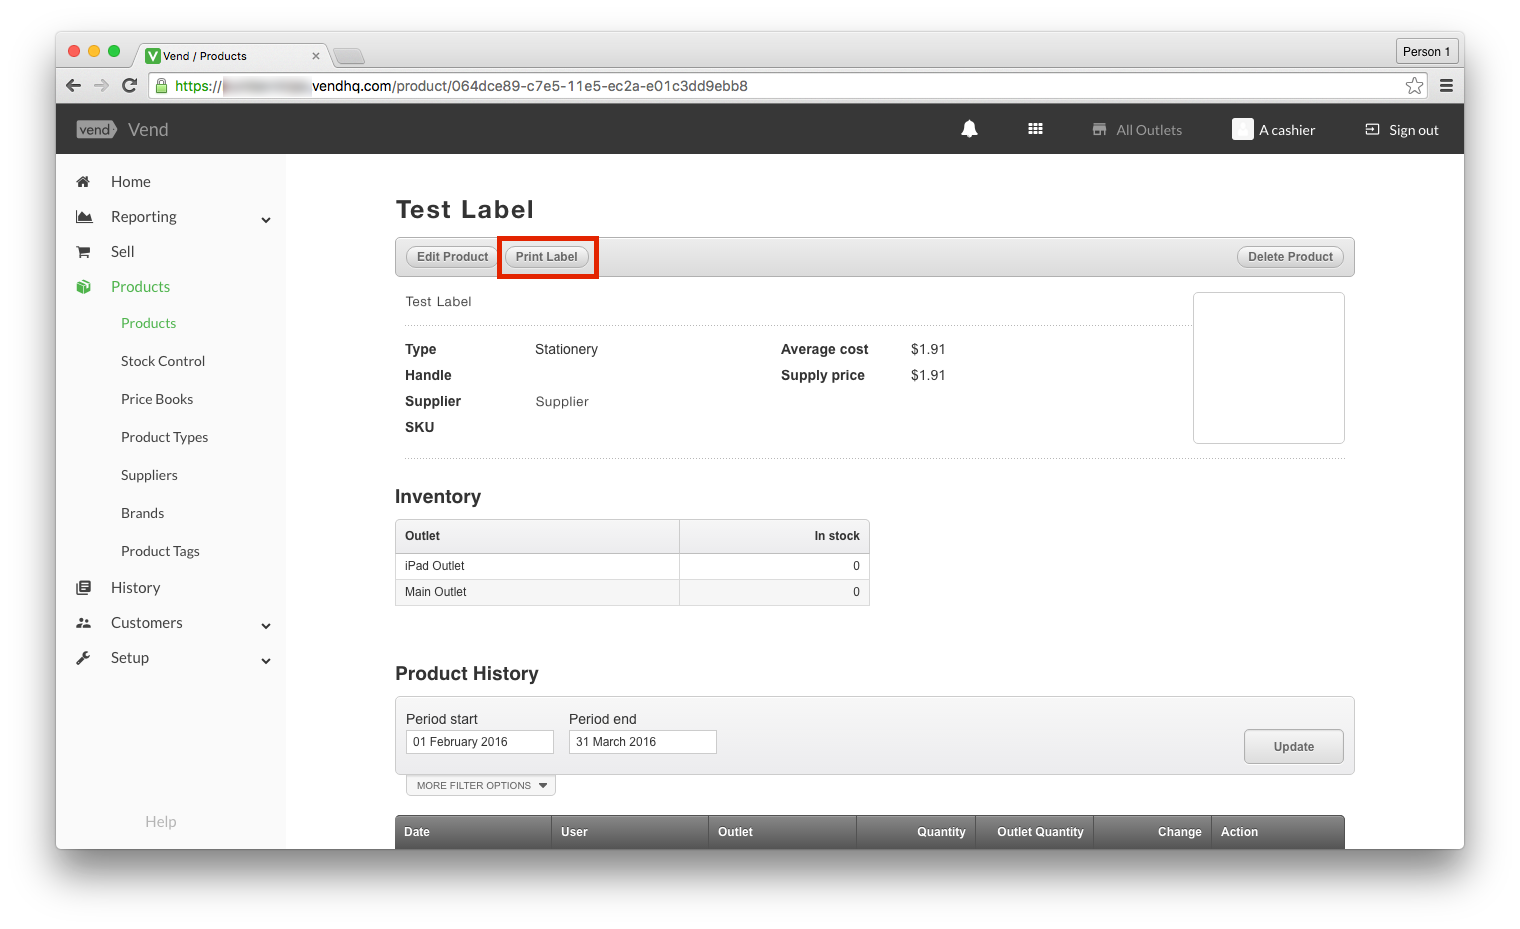
From the product details page click the "Print Label" button.
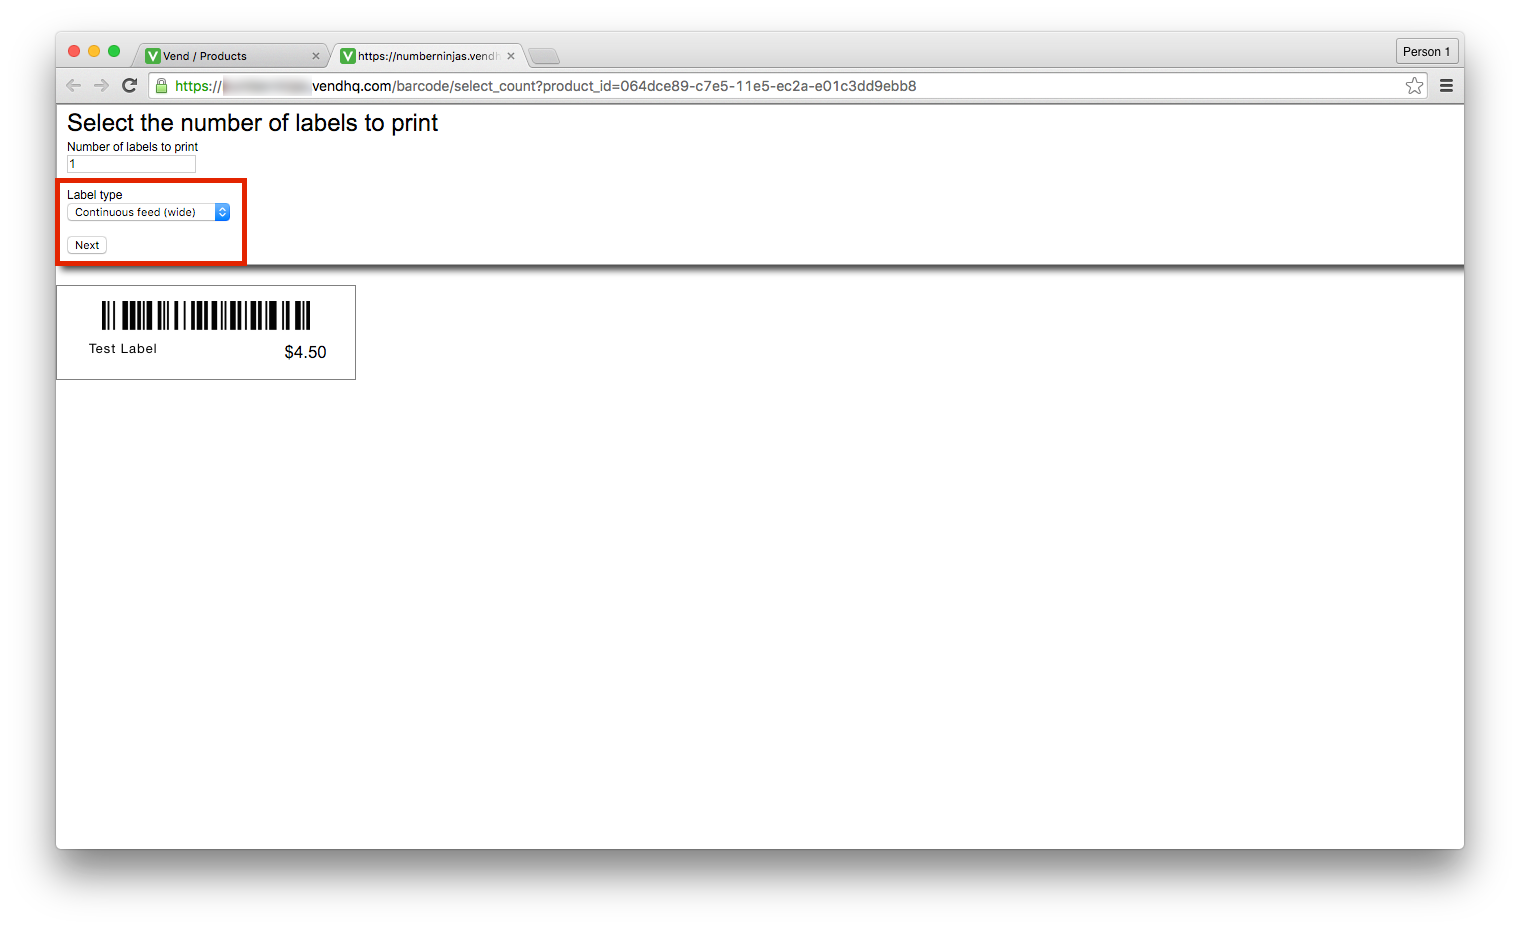
On the screen that opens select "Continuous feed (wide)" or "Continuous feed" from the popup and click the "Next" button.
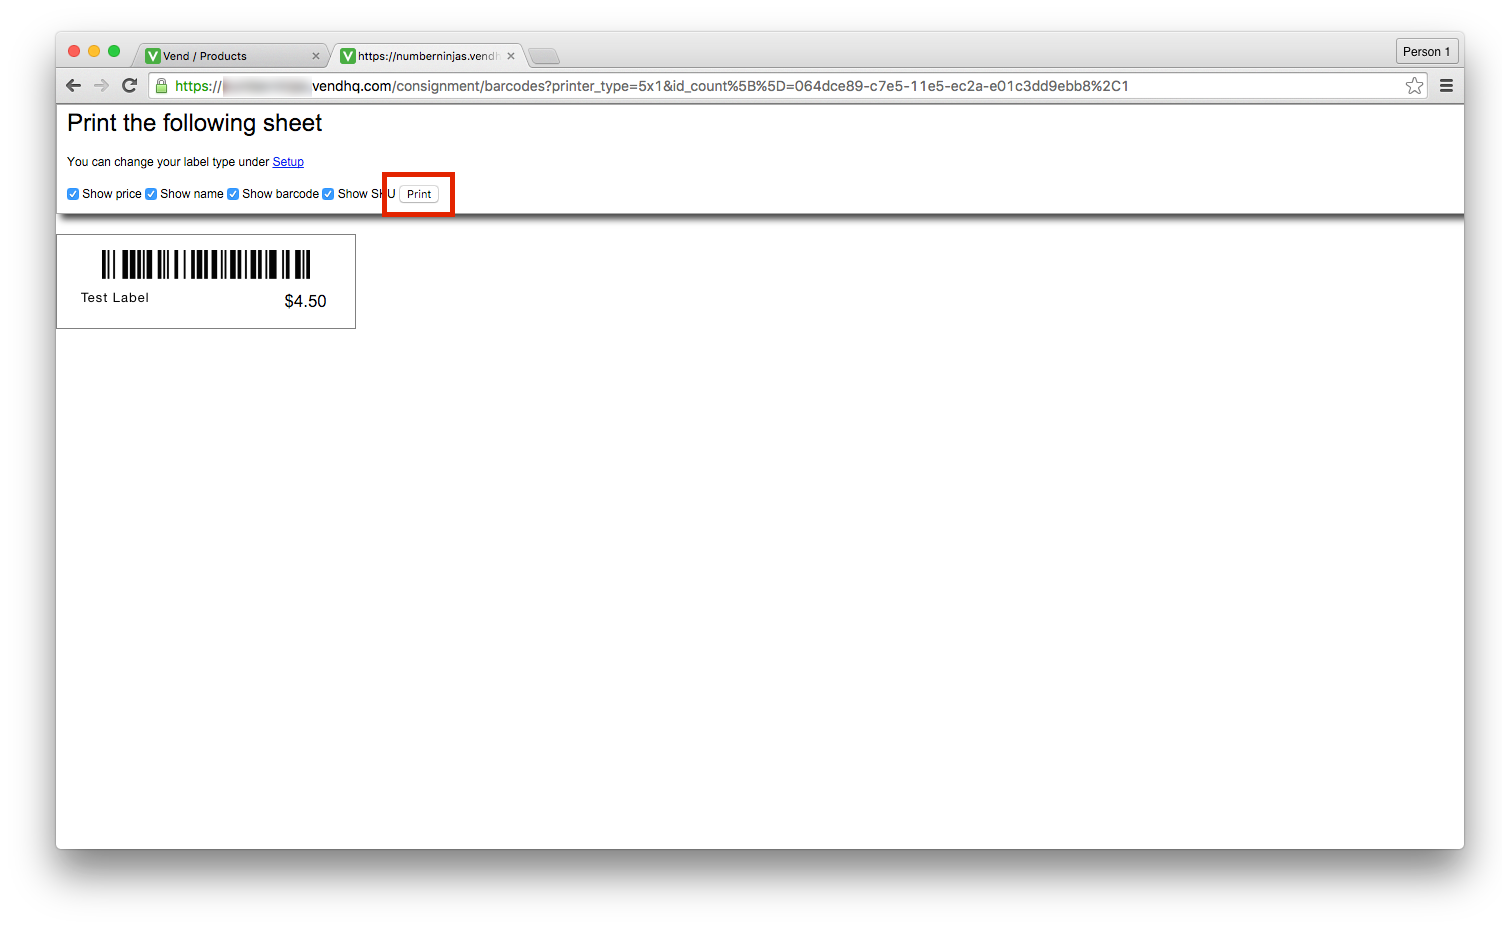
On the next screen select the options you would like and click the "Print" button.
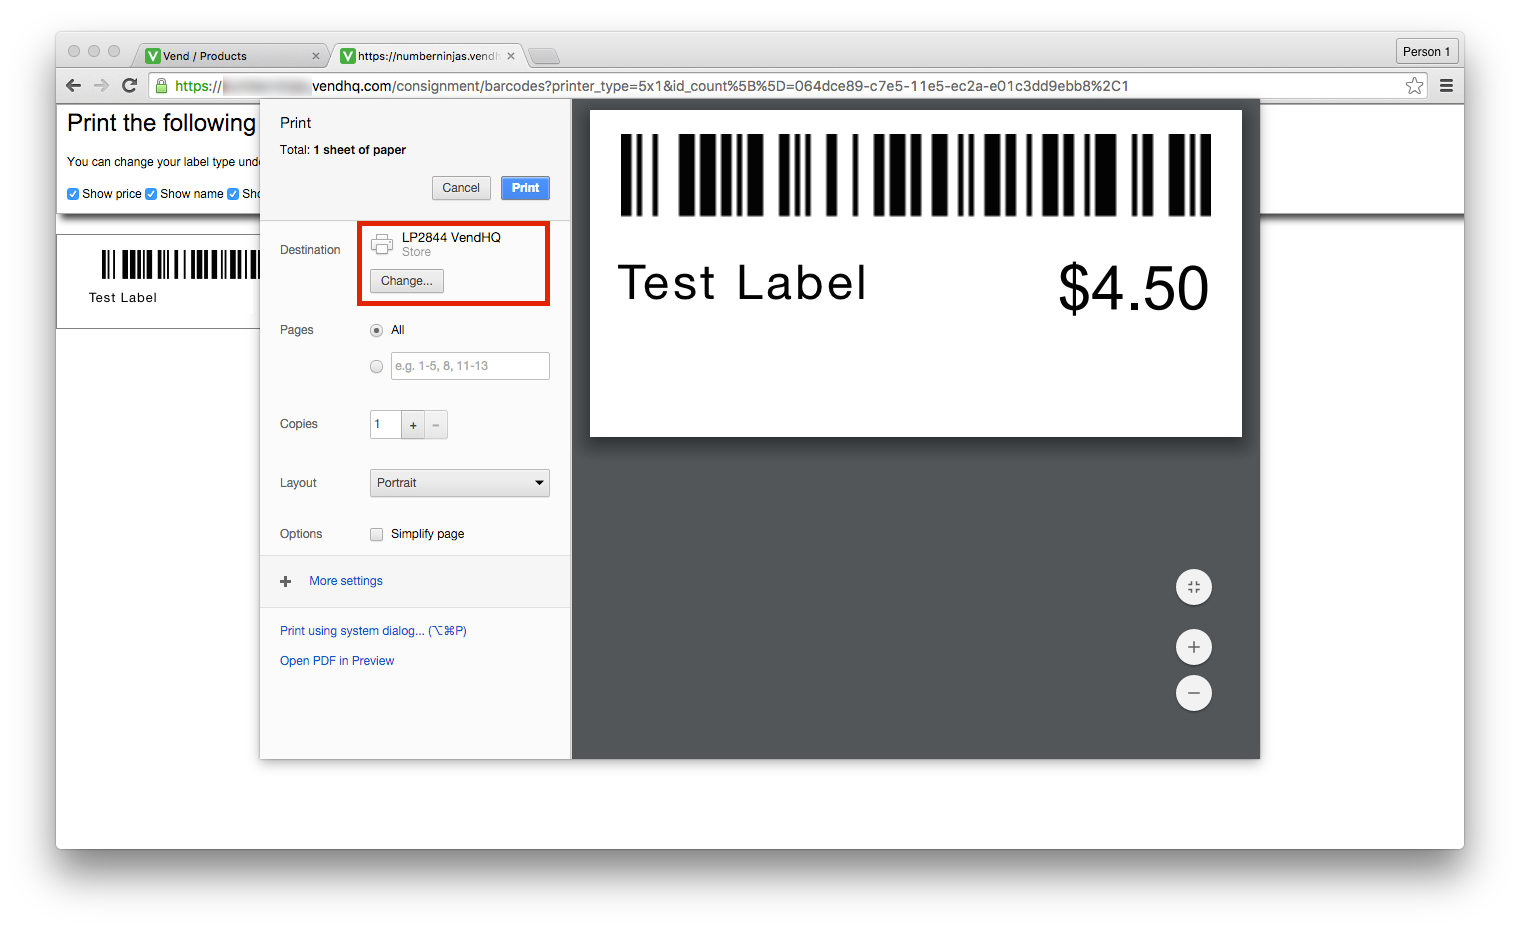
On the print dialog click the "Change..." button next to Destination.
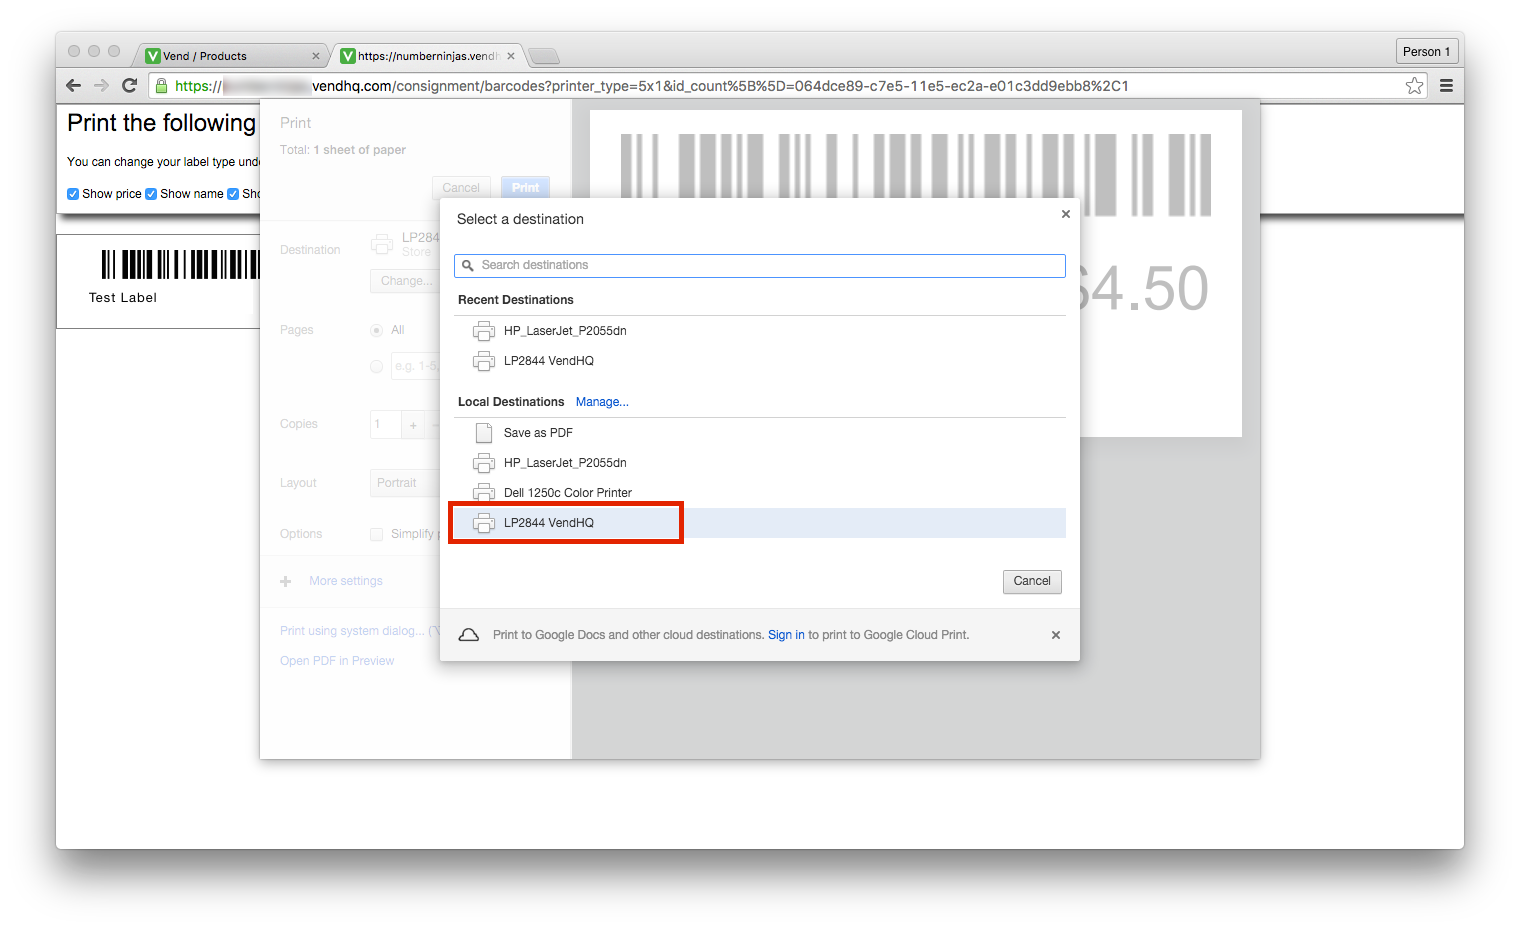
Select the printer which we just installed.
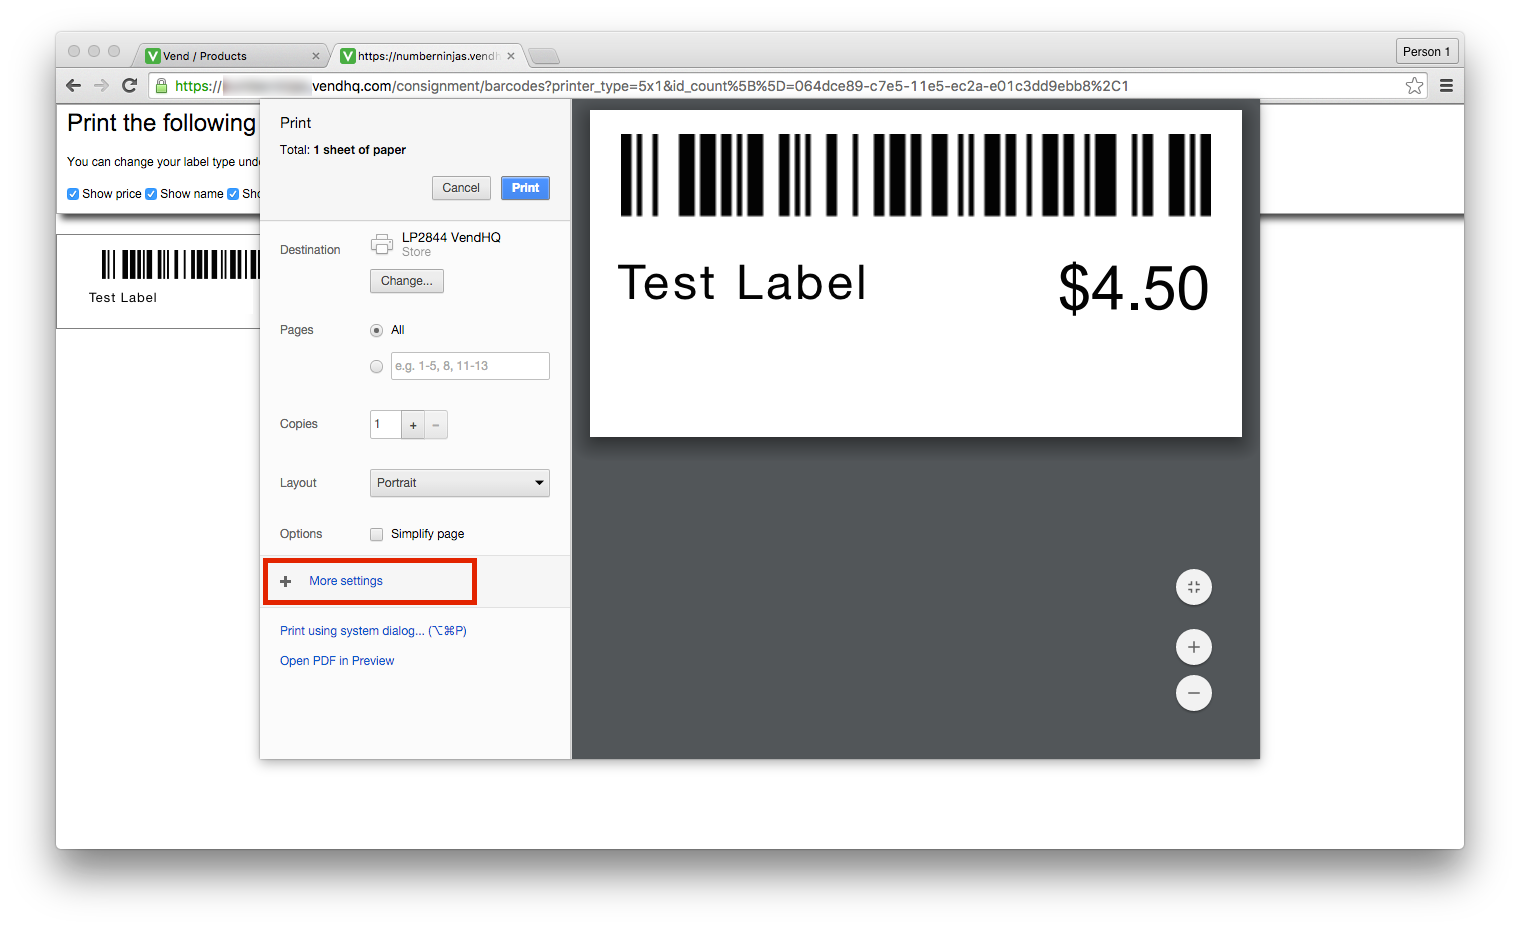
Once the printer is selected click "+ More Settings".
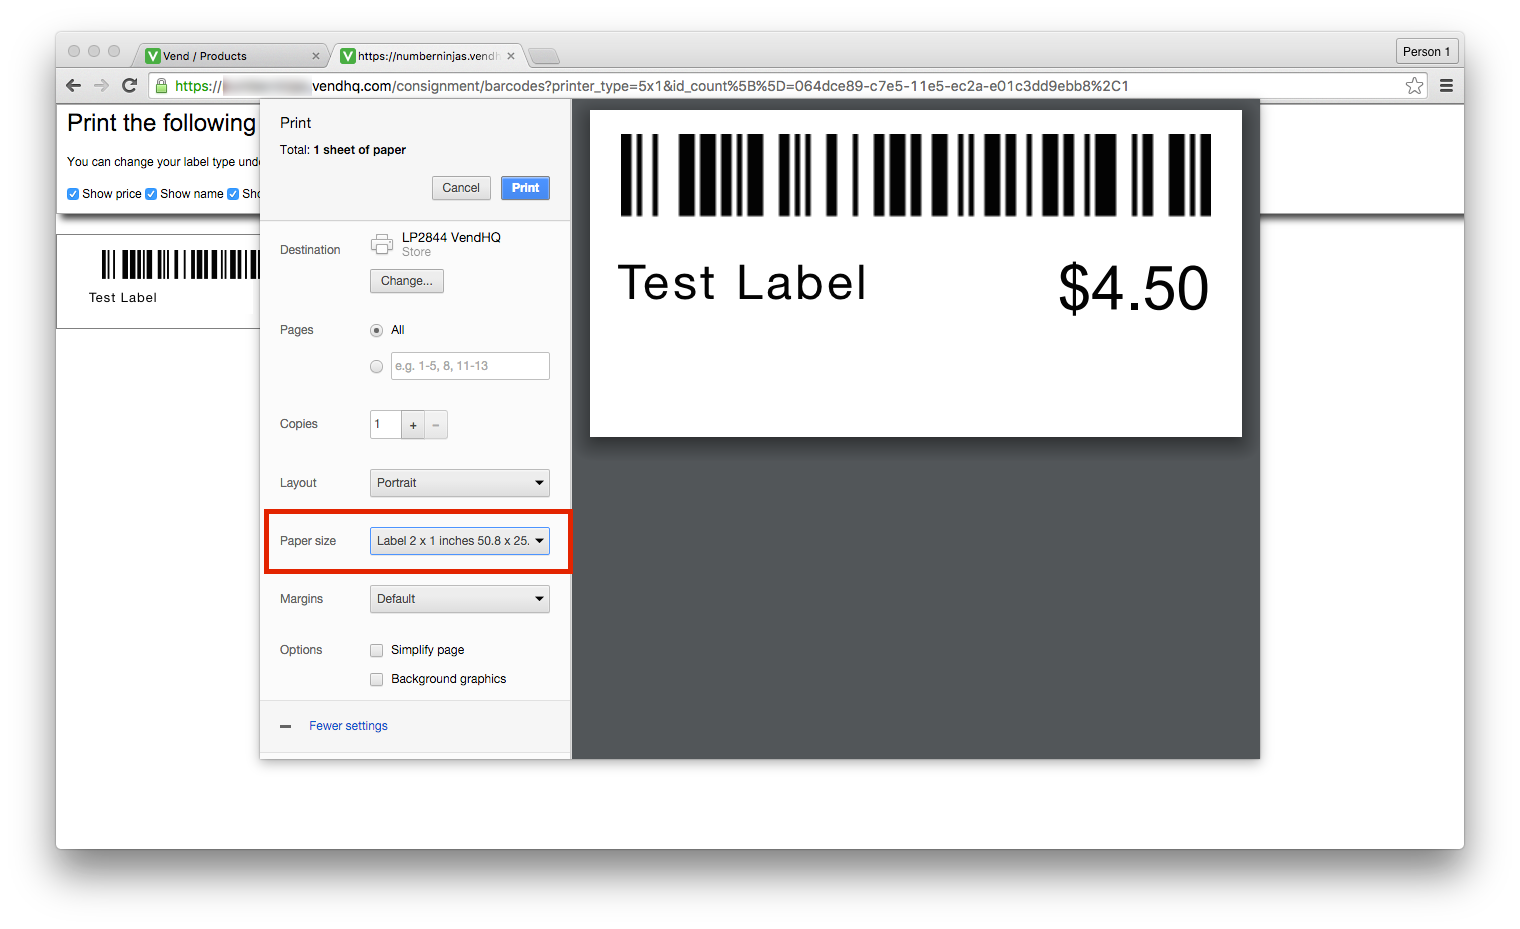
From the expanded settings set your Paper Size to the size of the labels you will be using.
If required change the Layout setting to make the layout the correct orientation.
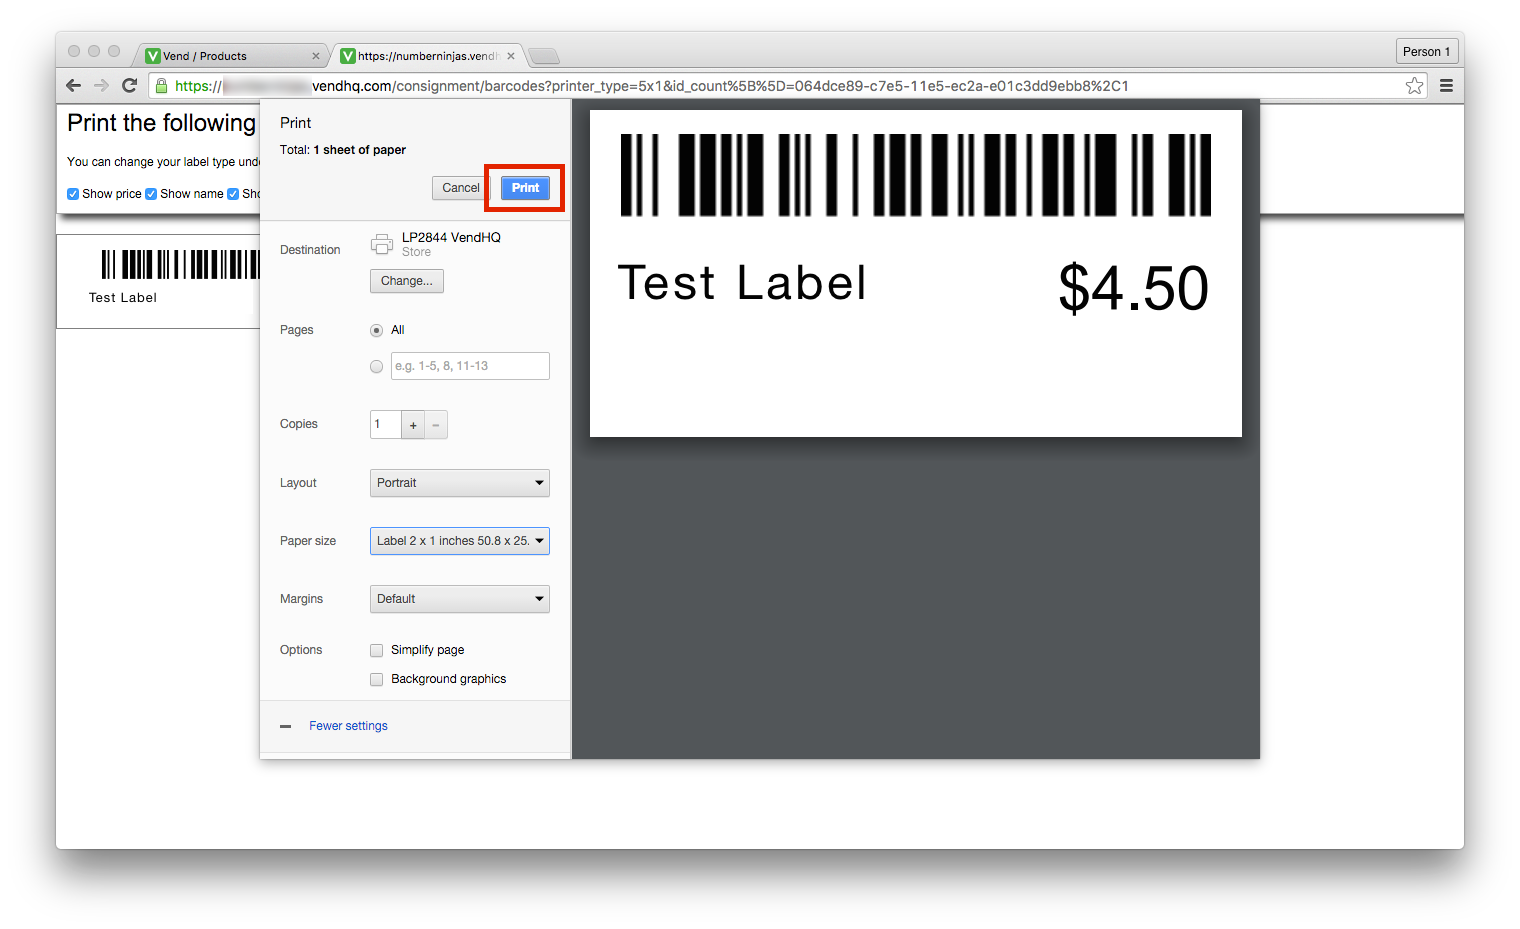
Once the correct label size is selected and the orientation is correct click the print button to print your label.
The setup is now complete simply return to your VendHQ and print your labels using the printer we just installed.
Remember to choose "Extract from Page" as the page size when printing.
Remember to choose "Extract from Page" as the page size when printing.